Creating Tags
Step 1: Navigate to the Tags Section
To create a new tag, start by navigating to the Tags section of Murnitur. This is usually found under the settings tab.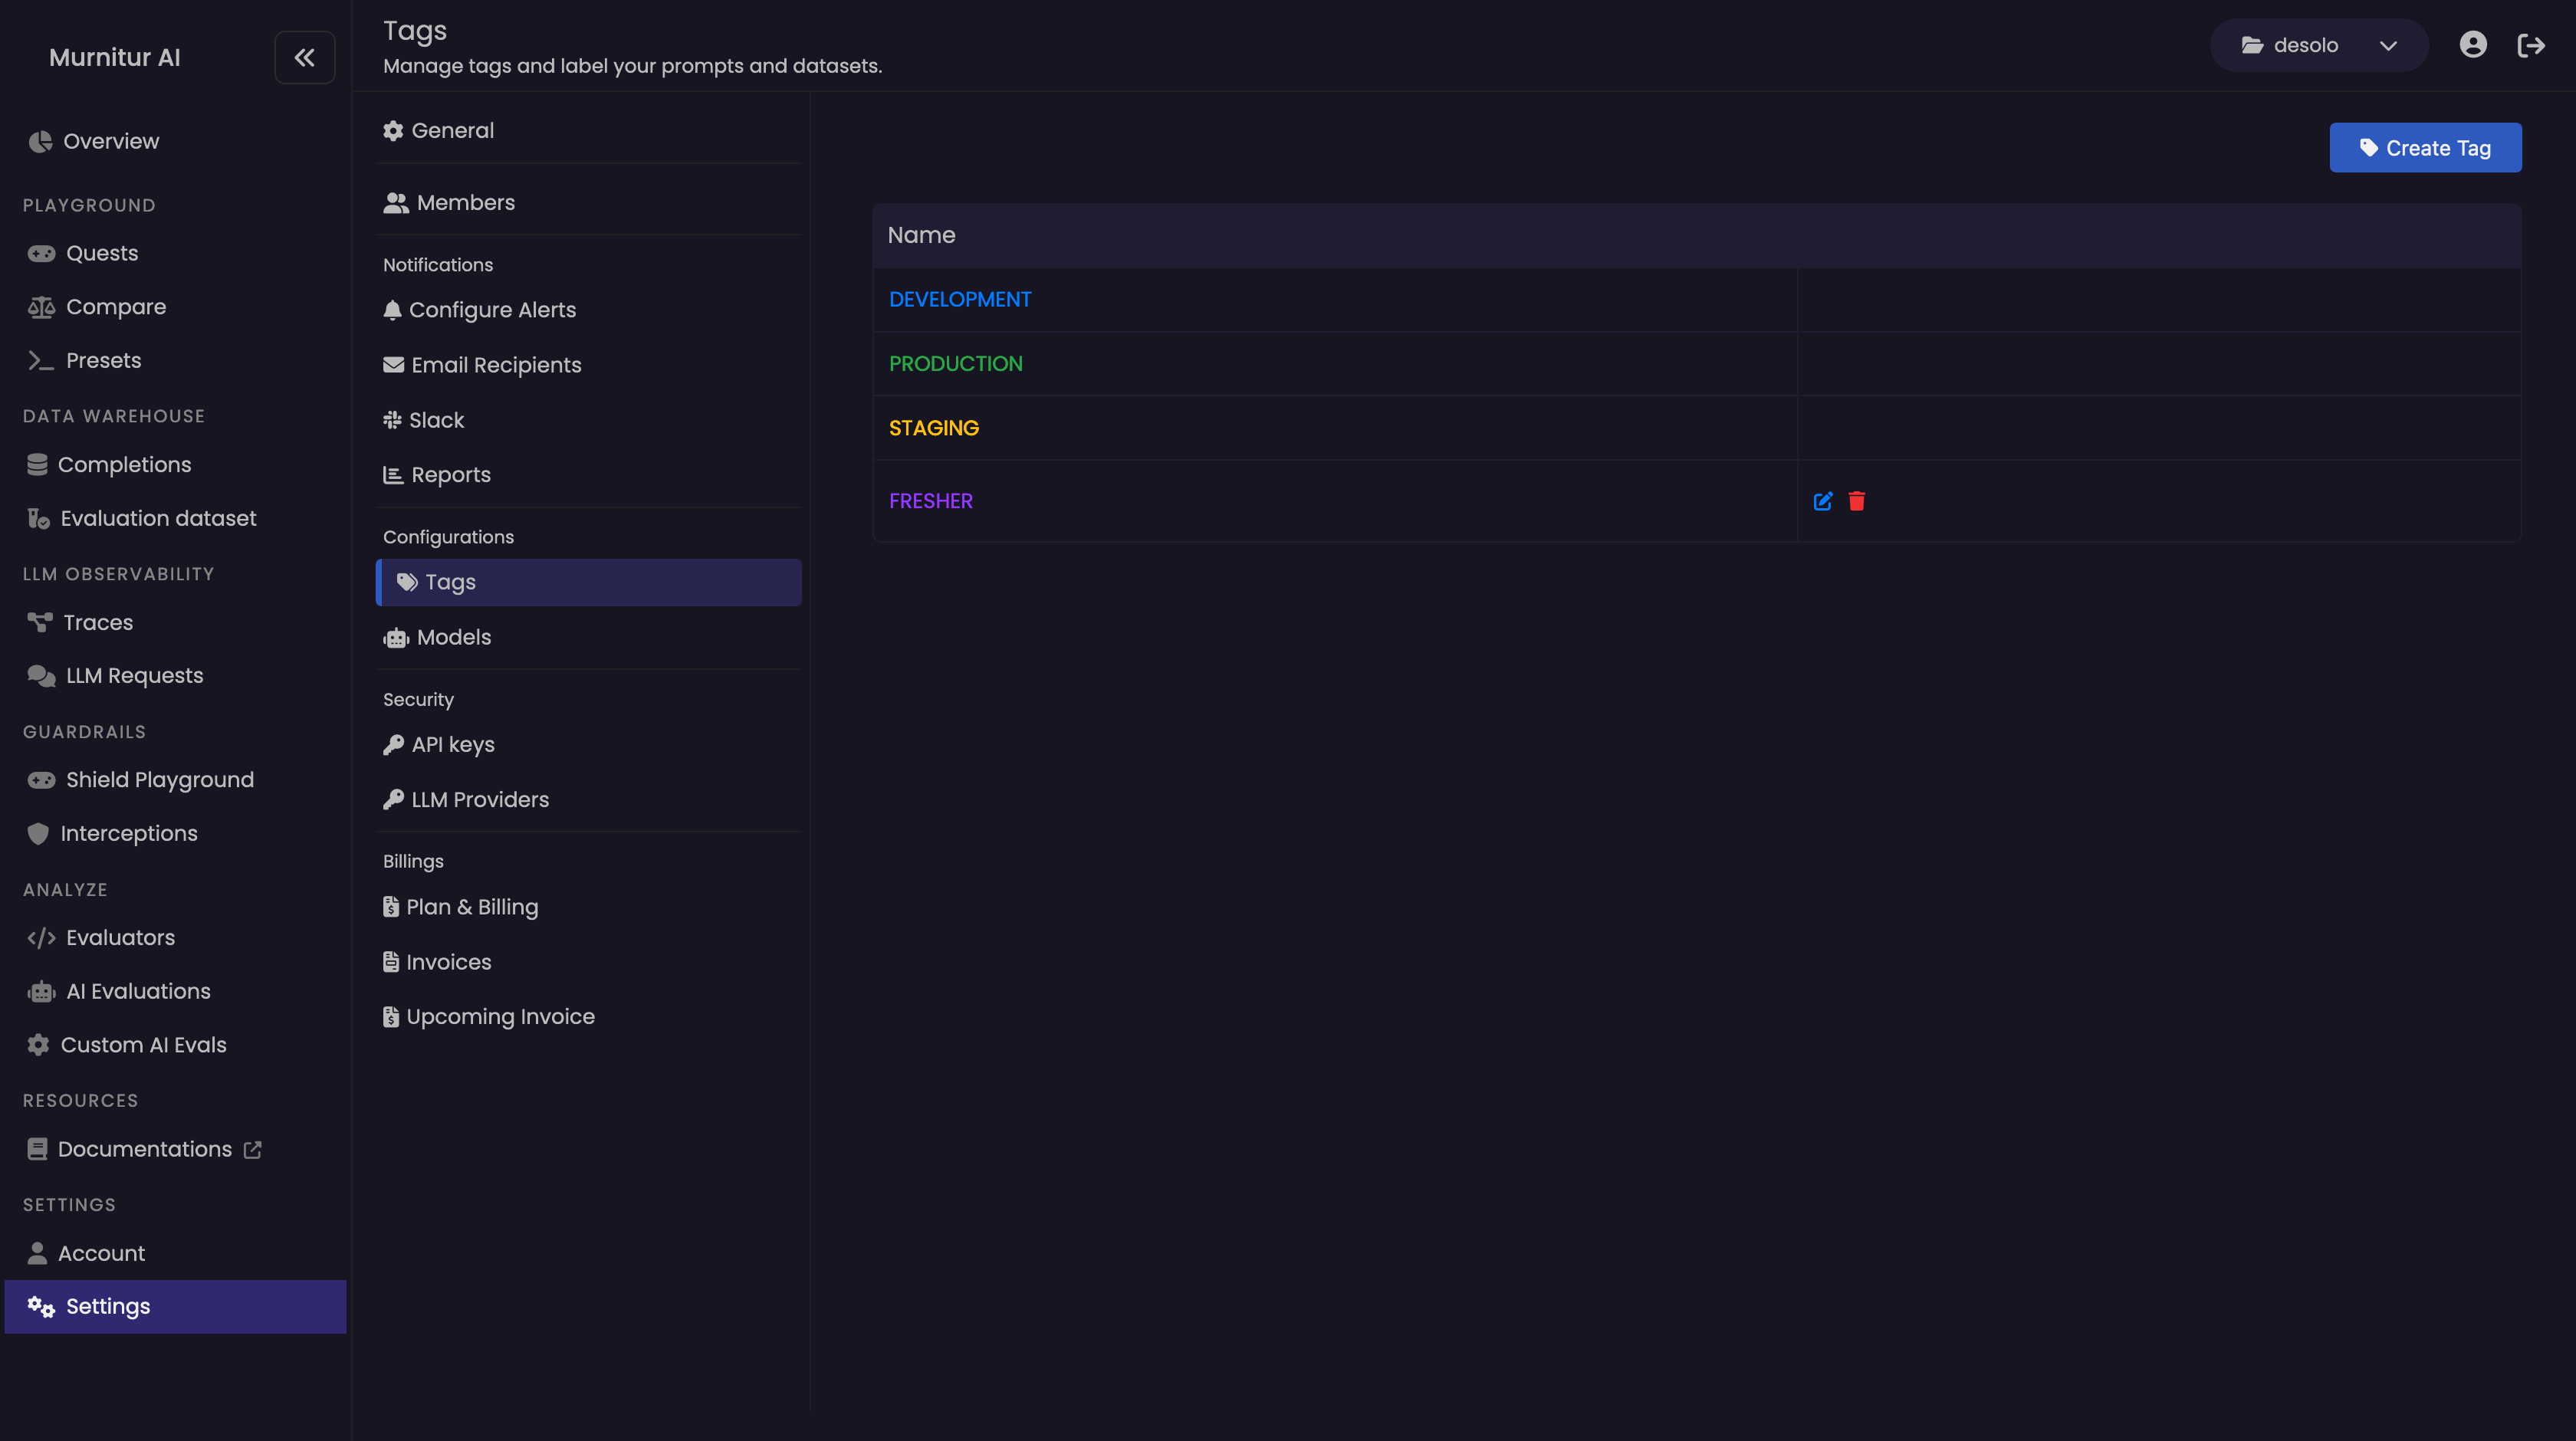
Step 2: Create a New Tag
- Click on the “Create Tag” button.
- Enter a descriptive name for the tag that reflects its purpose.
- Optionally, add a color to the tag for easier identification.
- Click “Create” to create the tag.

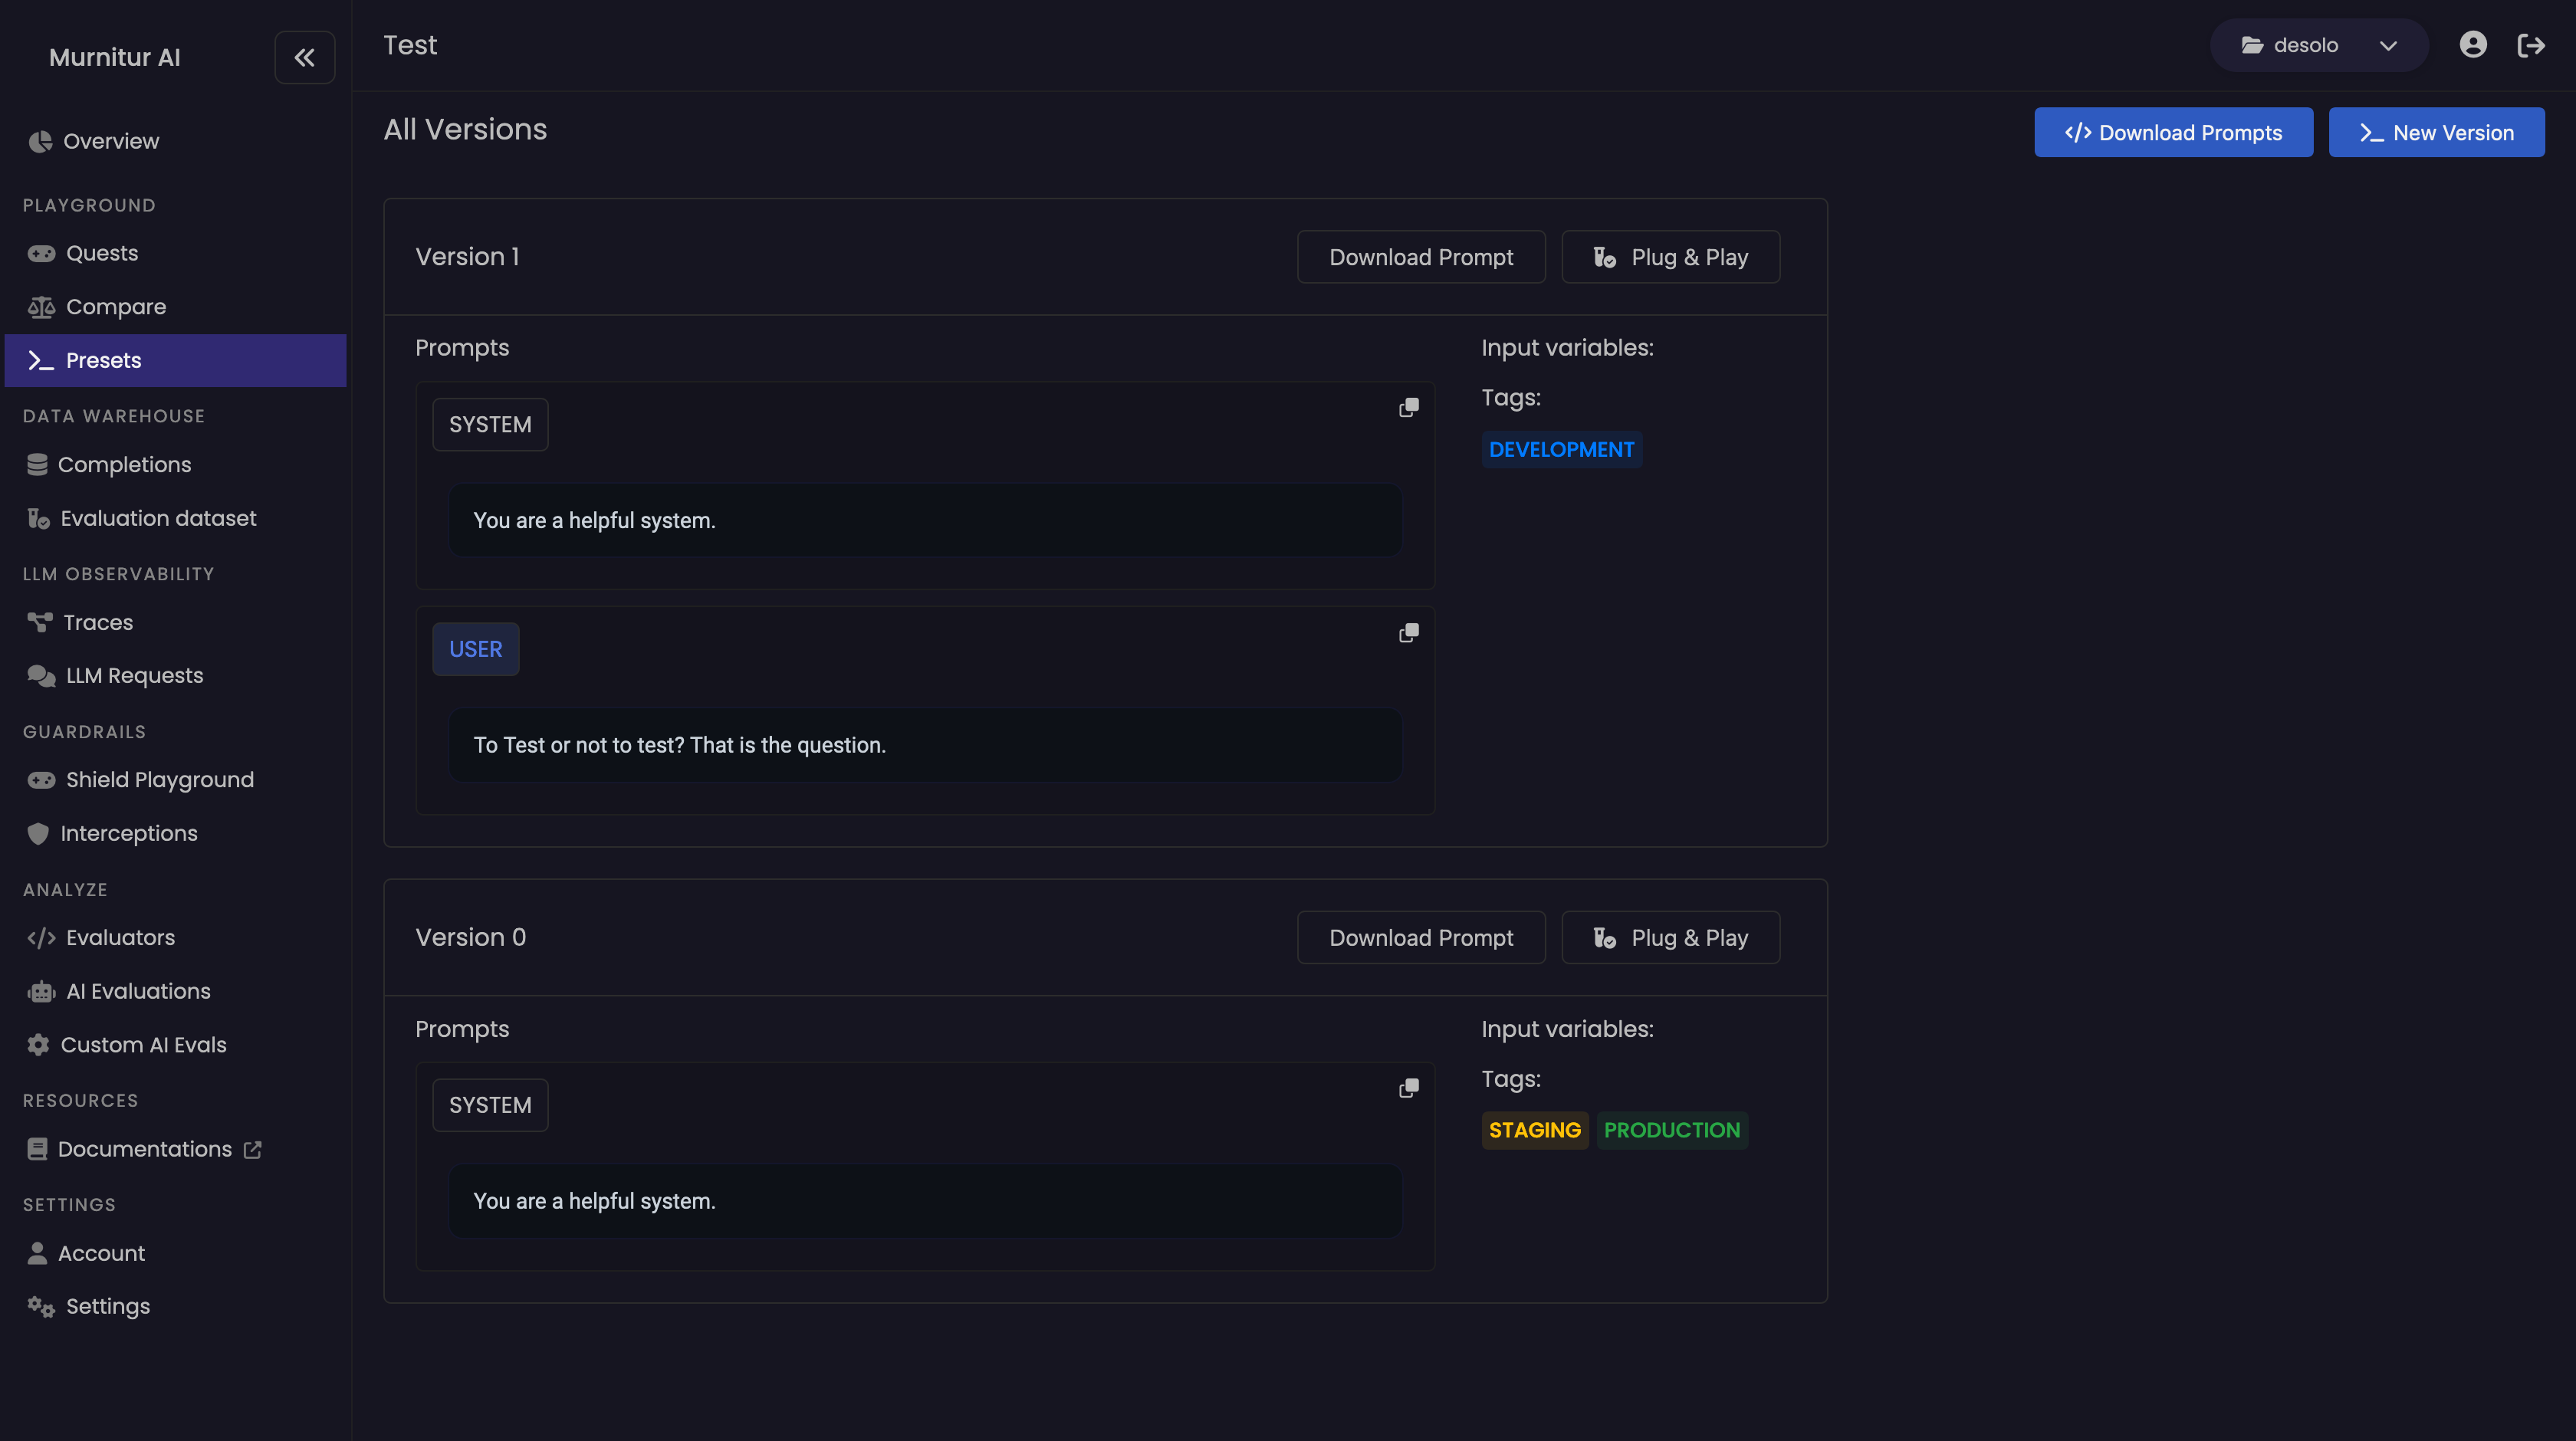
Using Tags
Once you have created your tags, you can start using them to label your preset prompts.Step 1: Tag Prompt
This can be done when creating a new prompt template or prompt version.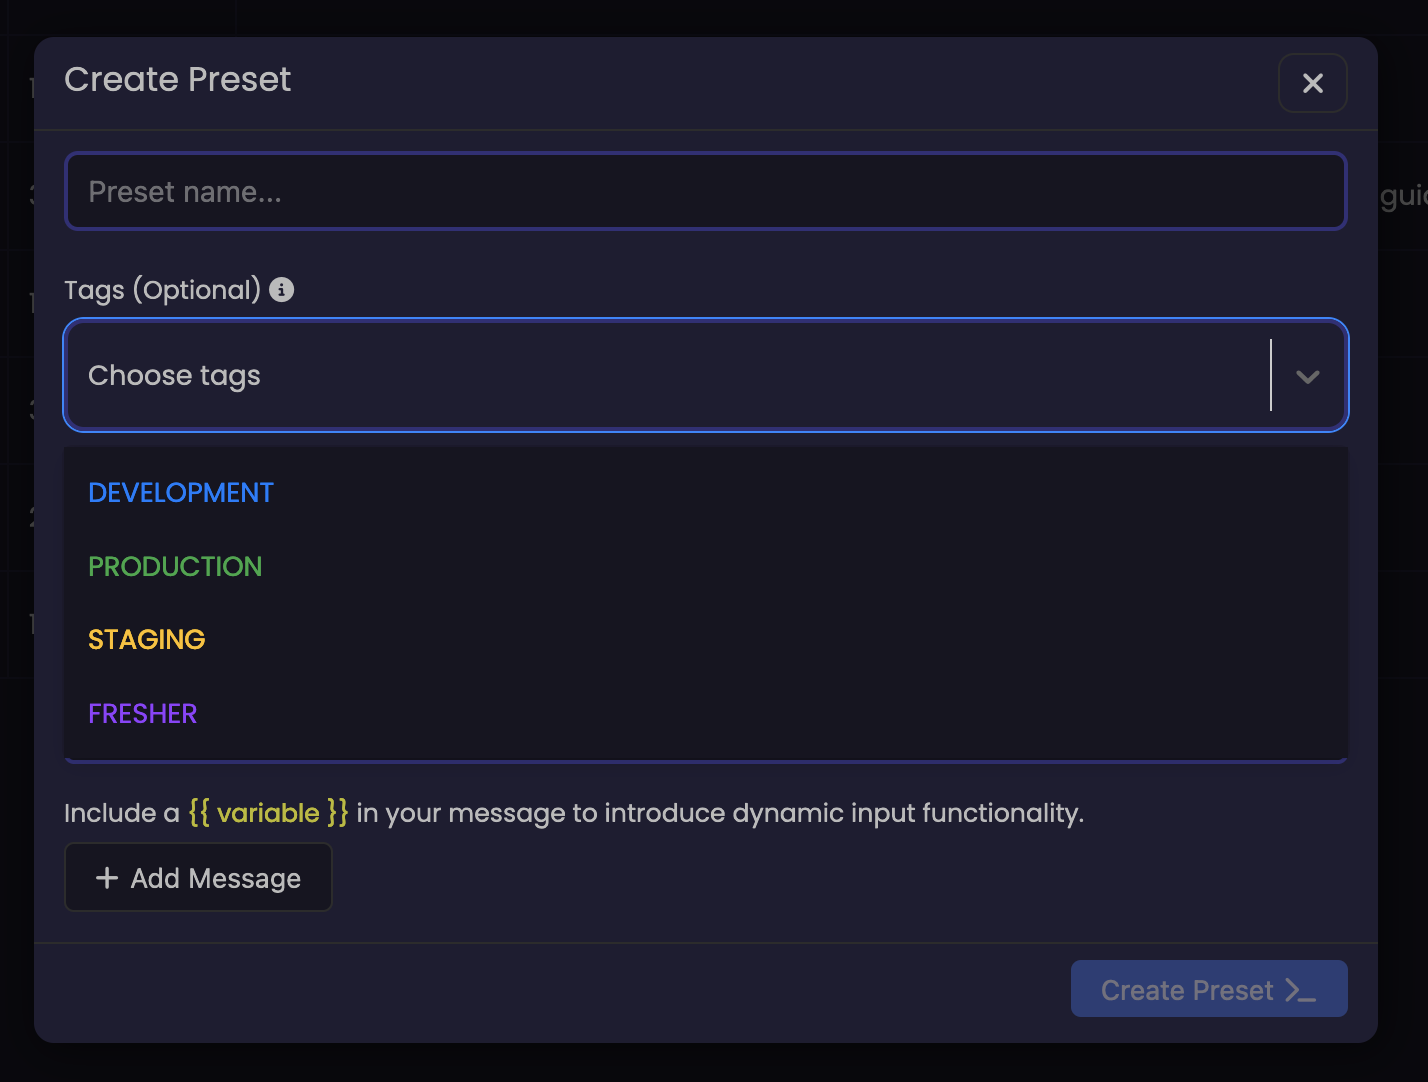
Step 2: Assign Tags to the Prompt
- In the prompt’s settings, locate the “Tags” field.
- Start typing the name of the tag you want to assign, and select it from the dropdown list.
- You can assign multiple tags to a single prompt if needed.
- Click “Create Preset” to apply the tags to the prompt.